AroFlo Integration
This guide walks an admin through connecting Brix to AroFlo, entering the connection credentials, and choosing which data flows between the two systems. Once connected, transfers happen automatically or on demand from the Transfers page.
Before you begin
Section titled “Before you begin”You will need:
- Admin access to Brix (so the Manage area is visible).
- An AroFlo account with permission to generate connection credentials.
- The four AroFlo credentials Brix will store on your behalf:
- uEncoded — encoded user identifier from AroFlo
- pEncoded — encoded password
- Secret Key — long secret string used to authenticate requests
- orgEncoded — encoded organisation identifier
- The AroFlo Job Number (Reference Number) format your team uses on quote requests, since AroFlo’s pull features match records by reference number.
If you do not have these credentials, your AroFlo administrator can generate them from inside AroFlo’s access settings.
Step 1 — Open the Integrations page
Section titled “Step 1 — Open the Integrations page”- Sign in to Brix as an admin.
- From the top bar or sidebar open Manage.
- Choose Settings → Integrations.
The Integrations page shows Available and Connected tabs at the top, each with a count, and a search box below them. Each integration appears as a card with its logo, a short description, and a Connect or Configure button. AroFlo appears on the Available tab — and also on Connected once it is connected for your workspace.
Step 2 — Open the AroFlo integration
Section titled “Step 2 — Open the AroFlo integration”Click Configure (or Connect if it is not yet connected) on the AroFlo card. The AroFlo integration page opens.
The page has three sections, stacked top to bottom:
- Connection — at the top. Contains the Enable Integration checkbox.
- Credentials — in the middle. Four fields you paste from AroFlo.
- Features — at the bottom. Appears once Enable Integration is ticked and the credentials are saved. This is where you turn individual data flows on or off.
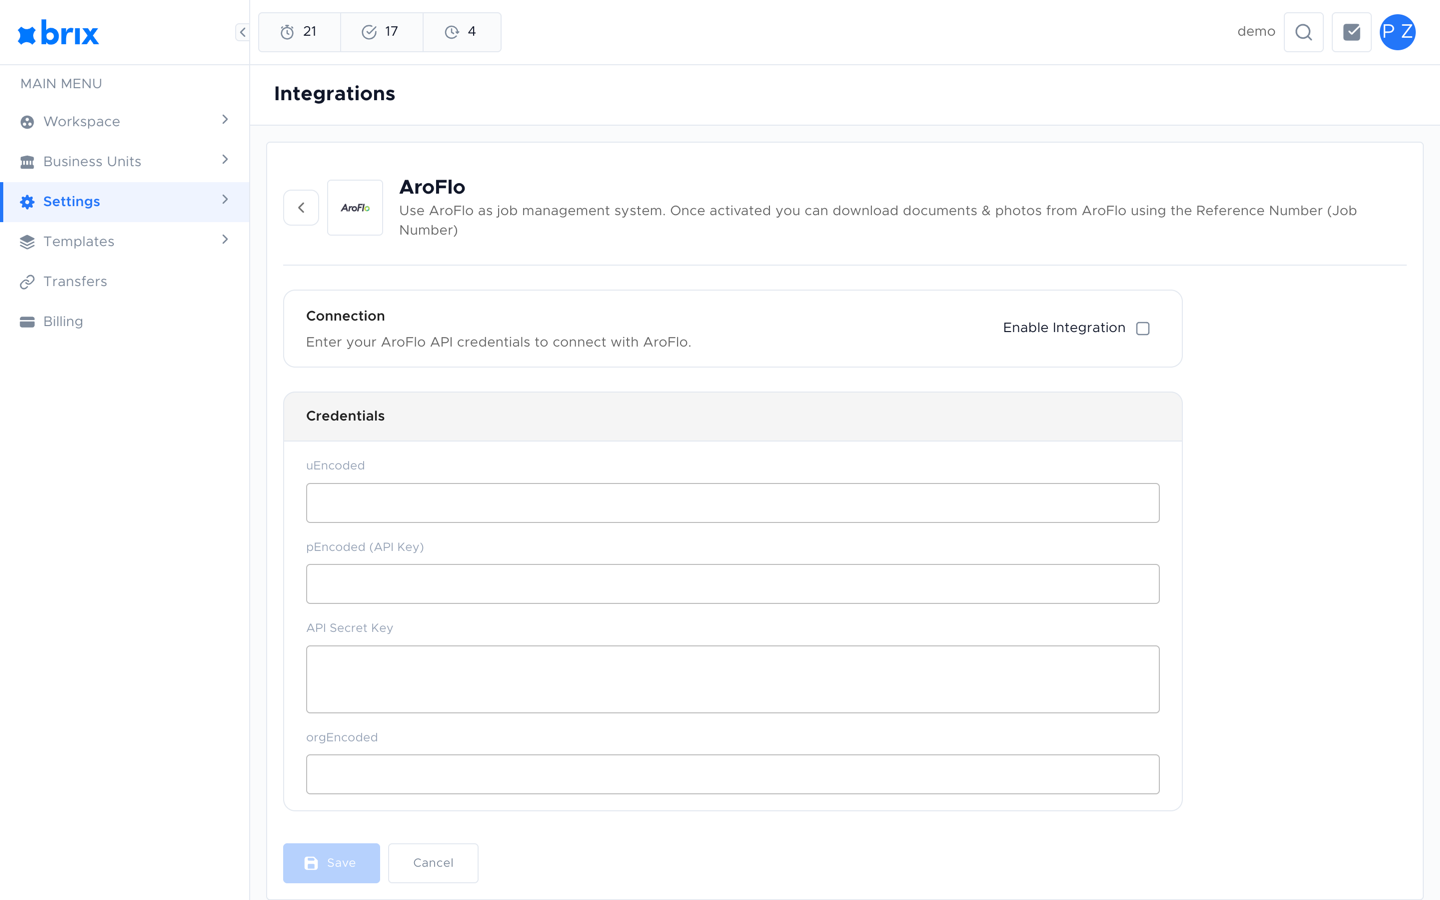
Step 3 — Enter the credentials
Section titled “Step 3 — Enter the credentials”- In the Connection section, tick Enable Integration. The credential fields become editable.
- In the Credentials section, paste each value from AroFlo into the matching field:
- uEncoded
- pEncoded (API Key)
- API Secret Key
- orgEncoded
- Click Save.
If any field is missing or wrong, AroFlo will reject the connection and your transfers will fail. You can come back and edit the credentials at any time.
You can stop syncing at any point by unticking Enable Integration and saving. Your credentials are kept; transfers simply pause.
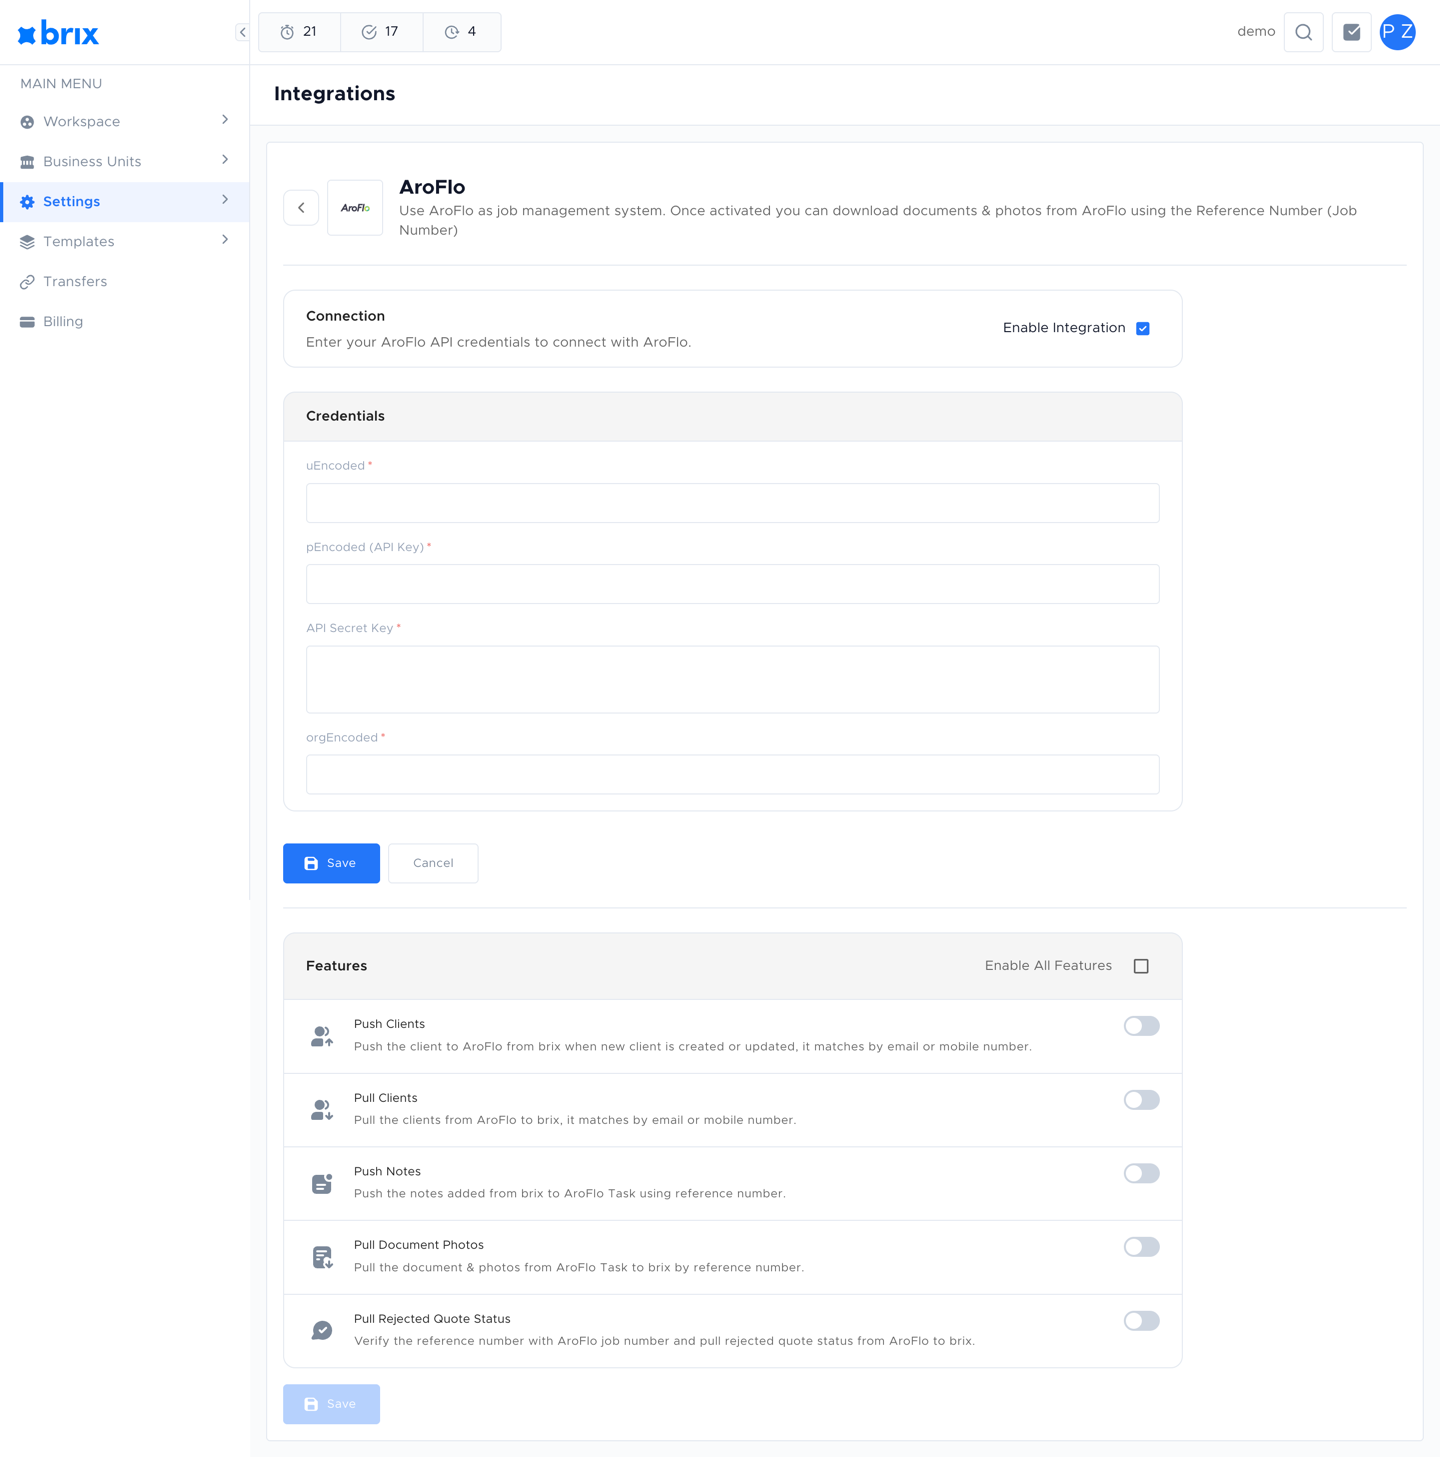
Step 4 — Choose which features to enable
Section titled “Step 4 — Choose which features to enable”Once the credentials are saved and Enable Integration is ticked, the Features section appears below. Each switch turns one data flow on or off. Each feature is independent.
| Feature | What it does |
|---|---|
| Push Clients | When a client is created or updated in Brix, Brix pushes it to AroFlo. AroFlo matches by email or mobile number to avoid duplicates. |
| Pull Clients | Pulls clients from AroFlo into Brix. Brix matches by email or mobile number. |
| Push Notes | Notes added to a Brix quote request are pushed to the matching AroFlo task using the reference number. |
| Pull Document Photos | Pulls documents and photos from the AroFlo task back into the matching Brix quote request, again using the reference number. |
| Pull Rejected Quote Status | Checks the AroFlo job number on each quote request and, if the AroFlo job is rejected, marks the Brix quote request as rejected too. |
Turn on the switches you want and click Save.
Step 5 — Make sure your quote requests have AroFlo reference numbers
Section titled “Step 5 — Make sure your quote requests have AroFlo reference numbers”Most AroFlo features rely on a reference number (the AroFlo Job Number) on the Brix quote request to find the matching record in AroFlo:
- Push Notes uses it to attach the note to the correct AroFlo task.
- Pull Document Photos uses it to find the AroFlo task whose documents should be downloaded.
- Pull Rejected Quote Status uses it to look up the AroFlo job whose status should be checked.
Add or update the reference number on each quote request that should sync. Quote requests without a reference number will be skipped by these features.
For more on how the Ref Number field works and what it links to in AroFlo, see Linking Jobs — AroFlo section.
Step 6 — Verify the sync
Section titled “Step 6 — Verify the sync”After saving, verify the integration end-to-end with one record at a time:
- Clients — Create or update a client in Brix and check that the same client appears in AroFlo (and vice versa for Pull Clients), using email or mobile number.
- Notes — Add a note to a Brix quote request that has an AroFlo reference number. Confirm the note appears on the matching AroFlo task.
- Document Photos — Upload a document or photo to the AroFlo task. Confirm it appears in the Brix quote request after the next pull.
- Rejected status — Mark the AroFlo job rejected. Confirm the Brix quote request flips to rejected at the next pull.
If something does not appear, open the Transfers page, choose AroFlo as the service, filter by Failed, and read the Transfer logs for the affected row.
Day-to-day operations
Section titled “Day-to-day operations”- Pause syncing — Untick Enable Integration in the Connection section and click Save. Brix keeps your credentials; transfers stop until you re-enable.
- Change which data syncs — Toggle individual feature switches in Features and click Save.
- Rotate credentials — Generate new credentials in AroFlo, paste them into Brix, and save. The integration will use the new credentials for the next transfer.
- Disconnect entirely — Untick Enable Integration, save, and (optionally) clear the credential fields and save again.
Troubleshooting
Section titled “Troubleshooting”| Symptom | What to check |
|---|---|
| Save returns an error | Confirm all four credentials are correct and there are no leading/trailing spaces. Re-copy from AroFlo if unsure. |
| Push/Pull Clients not syncing | Brix matches by email or mobile number. Confirm the record has at least one of these fields populated in both systems. |
| Notes don’t appear in AroFlo | The Brix quote request must have an AroFlo reference number; without it, Push Notes is skipped. |
| Document photos don’t pull | Confirm Pull Document Photos is on, and that the quote request has the AroFlo job number. Check the Transfers page for failed pulls. |
| Rejected status doesn’t update | Confirm Pull Rejected Quote Status is on and the reference number on the quote request matches an existing AroFlo job. |
Frequently asked questions
Section titled “Frequently asked questions”Do I need to disconnect to update my credentials?
No. You can update the credential fields at any time in the Credentials section and click Save. The integration will use the new values for the next transfer.
Can I run both AroFlo and ServiceM8 at the same time?
Yes. The two integrations operate independently. You can connect both and configure each separately.
Things to check
Section titled “Things to check”Save returns an error
Confirm all credential fields are filled and there are no extra spaces. Re-copy the values from AroFlo if unsure.
Notes don’t appear in AroFlo
The brix quote request must have an AroFlo reference number. Without one, push notes is skipped. Add the reference number on the quote request and retry.
Related guides
Section titled “Related guides”- Integrations Overview — list of available integrations.
- ServiceM8 Integration — sign-in-based integration with ServiceM8.
- Transfers Overview — what transfers are and where to find them.
- Managing Transfers — start, retry, cancel, and inspect transfer logs.