Creating and Sending Quotes
Creating a quote
Section titled “Creating a quote”Your company may create quote requests from a job (e.g. from a job board or dispatching tool) or from inside brix. Once a quote request exists:
-
Open it from the Quotes → Requests list.
-
Add services — Use “Add service” (or similar) and pick from your Services list (these are the services in your pricebook), or add an adhoc with a custom description and price. If you have not yet built out your services, download them from a catalogue first.
-
Add materials — Use “Add material” and pick from the Materials list (or a pick list if available). Enter quantity; the system uses unit cost and markup to calculate the line total.
-
Labour may be added automatically from service rules, or you may have a separate labour section — follow your business unit’s setup.
-
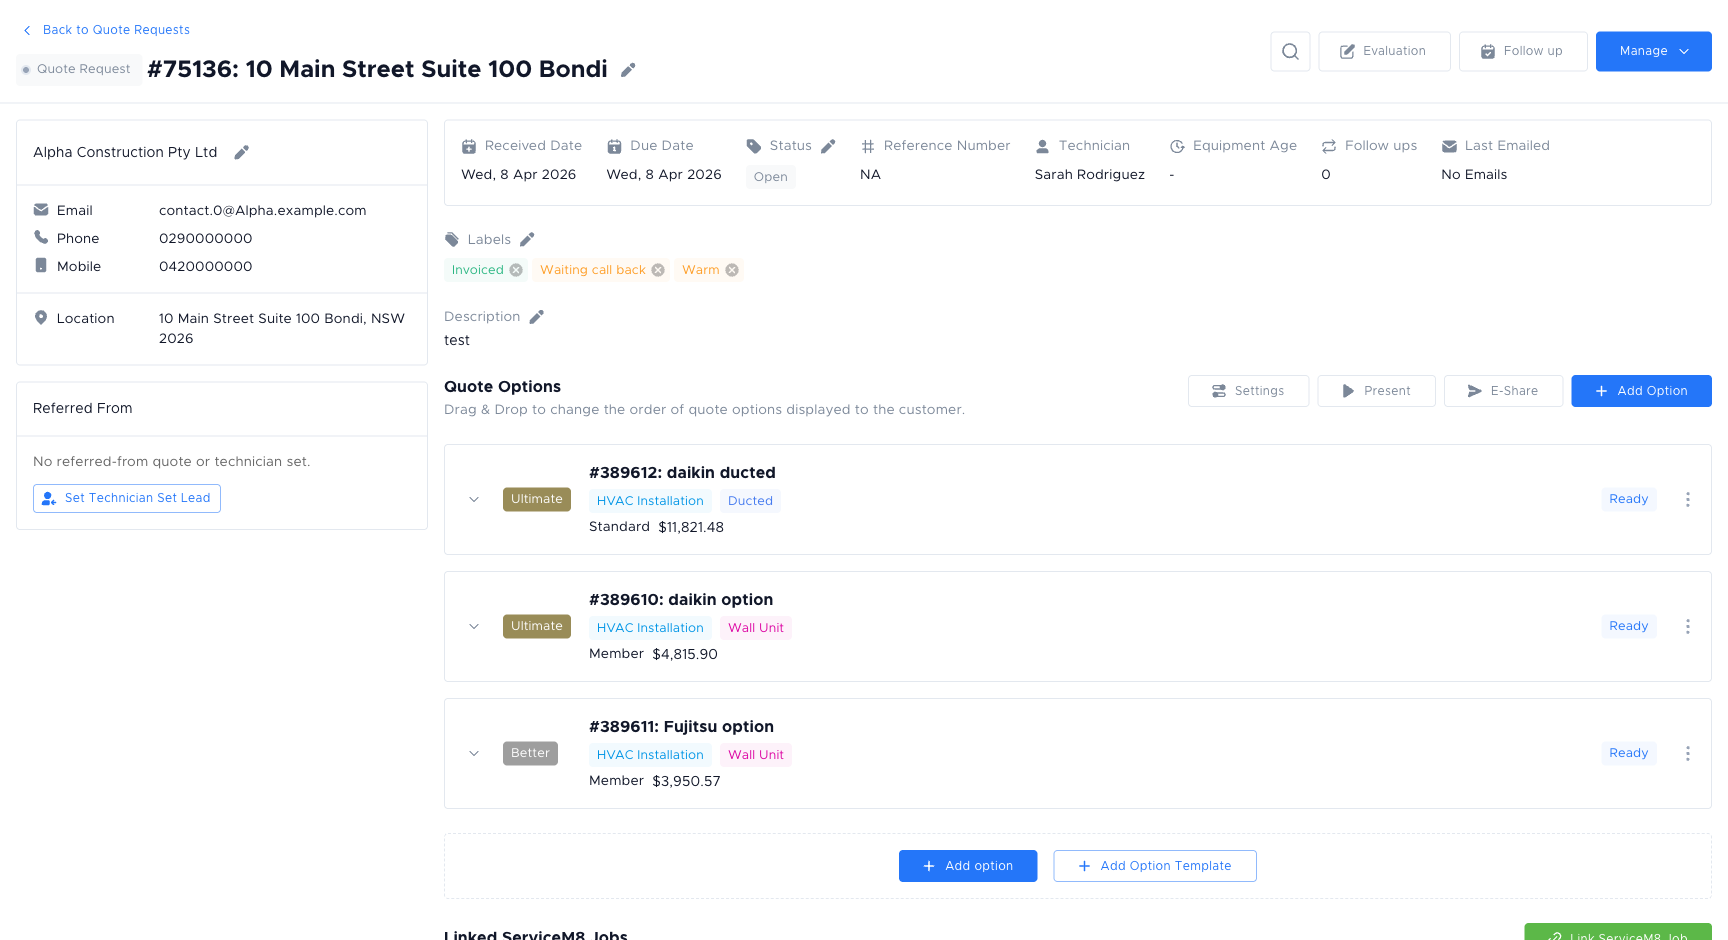
If you offer more than one option (e.g. standard vs premium), add or edit quote options. Each option can have its own name and set of lines; the customer can then compare and choose.
The system calculates totals from your prices and labour. Check the summary and each option before sending.
Stacked discounts
Section titled “Stacked discounts”Each quote option can have up to two discounts applied together. Discounts stack and are applied in the order shown — the first reduces the subtotal, the second is applied to the already-discounted value.
To add a discount:
-
Open the quote option and scroll to Discounts.
-
Click Add discount and either pick an existing discount from the dropdown or choose Ad-hoc to create a one-off (flat amount or percentage).
-
Optionally add a discount note (shown to the customer) and an expiry date.
-
Add a second discount the same way if needed. When two are applied, the Add discount button is hidden until one is removed.
Applied discounts show as a green stacked badge on the option card, on the presentation/grid view, and in the customer-facing quote — each line shows the discount name, value, and note.
Sending the quote
Section titled “Sending the quote”When the quote is ready:
-
Choose the option(s) to send if you have more than one (some setups send all options in one link).
-
Use the Send or Send to customer action (wording may vary). You may be asked to confirm the template or recipient.
-
The customer receives a link (e.g. by email) to view the quote and, if enabled, approve or decline it.
When finalising, choose an option template to control how the document looks to the customer.
After sending, you can track approvals and follow up from the same request. When the customer accepts or rejects the quote, update the status (Sold, Cancelled, or Rejected) so your team and the Score card stay accurate.
After sending
Section titled “After sending”- Status — The request stays Open while the team is working on it or waiting on the customer. When the customer accepts or rejects the quote, update the status to Sold, Cancelled, or Rejected so your team and Score card stay accurate.
- Follow-ups — Use Schedule follow-up to set a callback or Log follow-up when you’ve made contact.
- Revisions — If you need to change the quote, edit the lines and send again; the customer will see the updated version via the same or a new link depending on configuration.
Frequently asked questions
Section titled “Frequently asked questions”Why is labour not appearing on my quote?
Labour is calculated from the service rules in your book (business unit). If no labour appears, check that the selected service has labour rules defined in Manage → Business Units.
The “Add discount” button is greyed out — why?
You can apply a maximum of two discounts per quote option. If two are already applied, the button is hidden. Remove one to add another.
What happens to the quote if I revise it after sending?
You can edit lines and send again. The customer receives an updated document (or the same link refreshes, depending on your workspace configuration).
Can I send only one option and not all of them?
Yes — when sending, you can choose which option(s) to include. Only quote options marked as Ready are visible to the customer; un-ready options stay internal.
Why does the quote total look different to what I expected?
Check each option’s discount stack. Two discounts applied in sequence each reduce the running subtotal, not the original total.
Things to check
Section titled “Things to check””Service not found” when adding a service
The service may not be in your current book (business unit). Make sure you are working in the correct book, or ask your admin to add the service.
Quote total is $0 or blank
Labour and material prices may not be set up in your book. Open Materials and Services in the sidebar to confirm unit costs are populated.
”Send to customer” button is disabled
The quote option may have no lines, or a required field (e.g. client email) is missing. Confirm the client has an email address.